In my previous blog post Monitoring NetApp Clustered Data ONTAP using Unified Manager 6.0 I have discussed the steps required to setup OnCommand Unified Manager and integrate it with LDAP. In this blog post I will discuss the setups required to install & configure NetApp OnCommand Workflow Automation (WFA). WFA is used to automate various storage provisioning & management tasks using role based user access. It can be further integrated with vCenter Orchestrator to provide end to end automation for NetApp & vSphere related tasks.
Install OnCommand Workflow Automation
Download WFA 2.1 from NetApp Support Site. Note that you need to have valid credentials to download this software. This installer is available as a 200 MB WFA-x64-V2.1.0.70.32-B2178337.exe file that can be installed on 64 –bit Windows OS. I have installed WFA on a Windows 2008 R2 virtual machine.
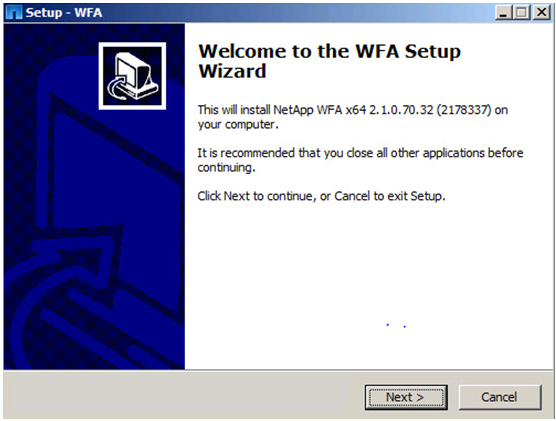
Launch the installer and click Next to continue.
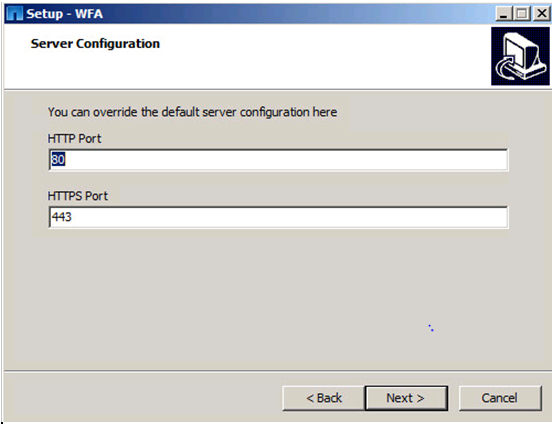
Accept the license agreement and click Next to continue or change them if you are using custom HTTP and HTTPS ports.
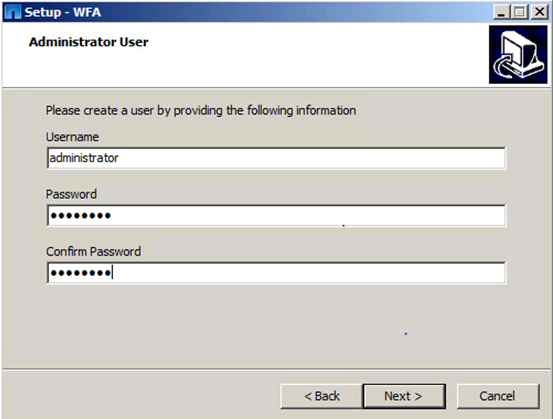
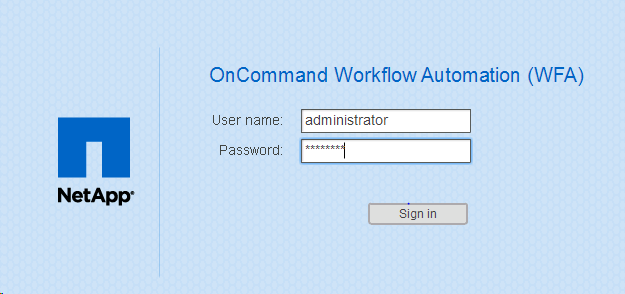
Enter the username and password. NOTE: This username/password would be used to login to WFA using the Web browser.
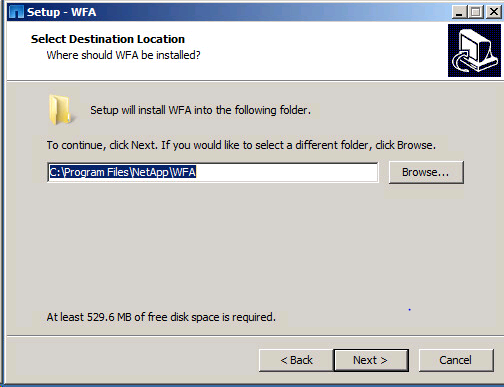
Change the destination location if required else click Next to continue.
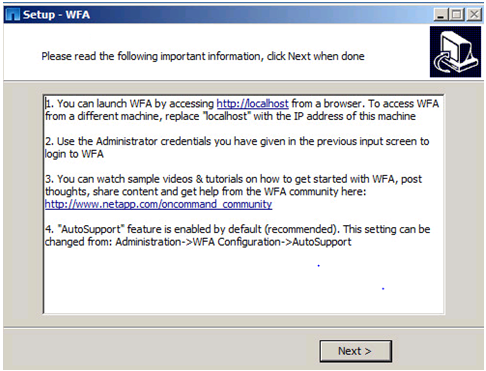
Review the information in this screen and click Next to continue.
This completes the installation of WFA.
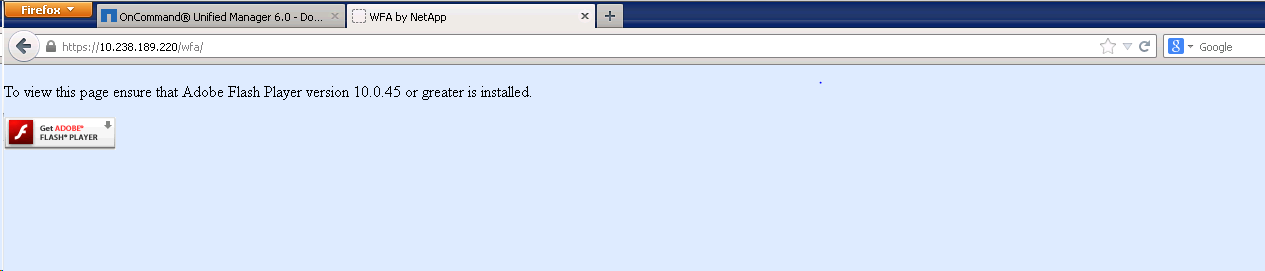
Launch WFA using https://IPorFQDN of the server where you installed WFA. Ensure that the latest Adobe Flash Player is installed.
Login using the credentials provided during the installation
Setup OnCommand Workflow Automation
Launch the Setup Wizard
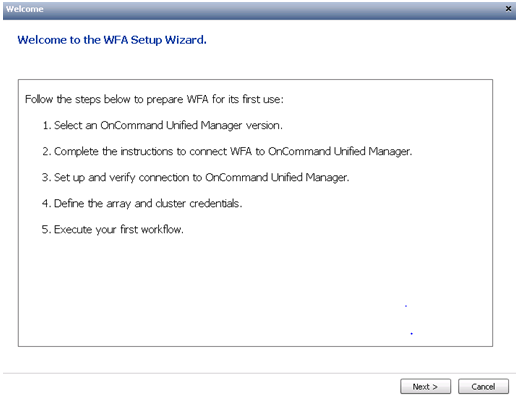
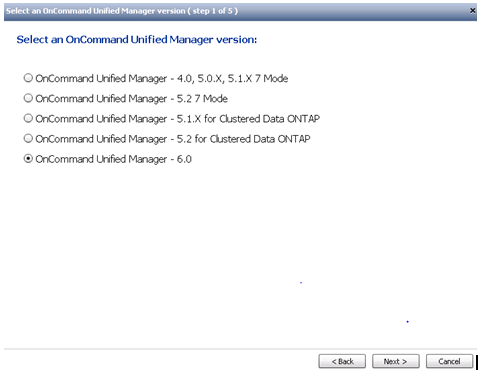
Select the version of OnCommand Unified Manager that has been installed. If you have not installed OnCommand Unified Manager (UM), you would have to pause the setup and install UM first. In my setup I chose UM 6.0 since I already have it installed.
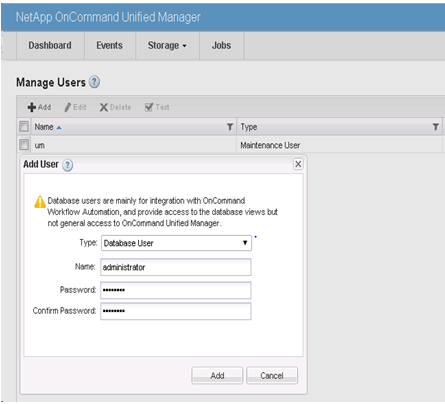
For WFA to communicate with UM, you have to create a user account in UM.
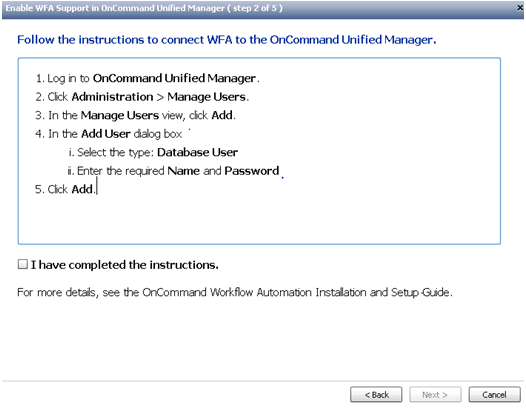
If you have not created the user account in UM, login to UM and create the following
database user account.
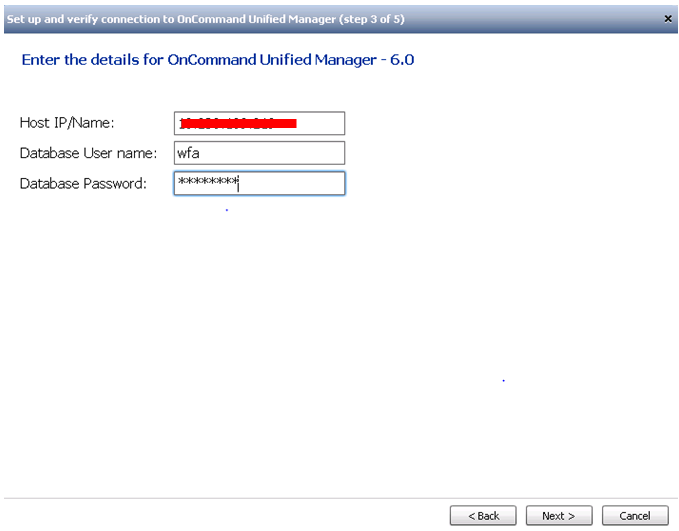
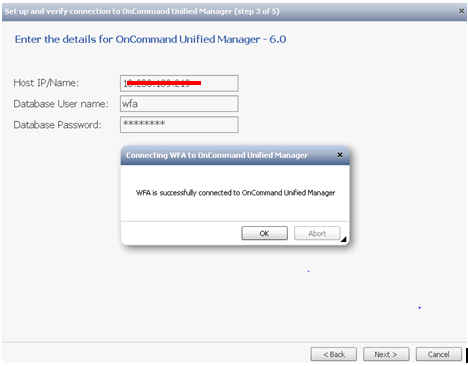
Enter the database user credentials for UM.
You will receive the following message when WFA is successfully connected to UM.
Enter the admin credentials of the cluster if you are using NetApp Clustered Data ONTAP.
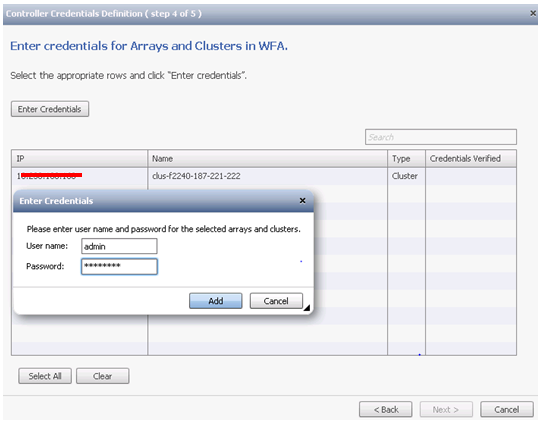
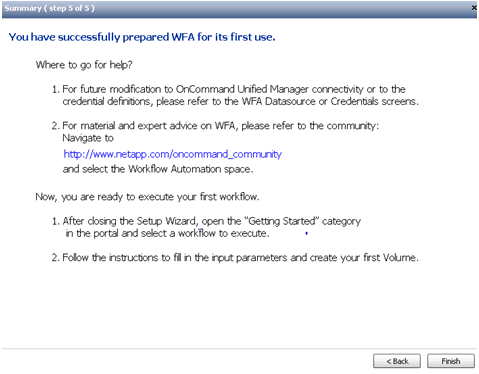
Once the NetApp Storage is added successfully, you will receive the message. I strongly recommend that you visit the Workflow Automation community to understand more about this product.
Add additional Data Source
During the above setup, UM is added as a Data Source for WFA. If you want to automate vSphere Infrastructure tasks then you should also add the vCenter Server as a Data Source in WFA.
To add vCenter Server, navigate of Execution > Data Sources > Click to add a Data Source.
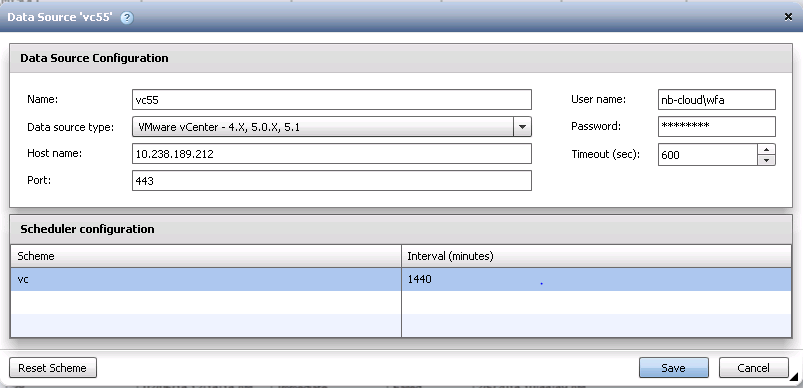
Enter the following information
- Name: Descriptive name for the vCenter Server instance.
- Data Source Type: Select VMware vCenter
- Home Name: Enter the IP or FQDN
- Port: Use the default port
- User name & Password: Create a user name and assign it Read Only permissions for your vCenter Server. Enter the user name and password here.
IMPORTANT: You must install VMware PowerCLI on the server where WFA is installed; else the following error would be reported while adding vCenter Server as data source.
Unable to load VMware Poweshell Snapin
The data sources have now been added successfully.

Configure LDAP integration with OnCommand Workflow Automation
WFA supports LDAP integration to provide role based access. In this demo I am using Windows 2008 R2 Active Directory and will integrate my AD users with WFA.
To configure LDAP, navigate to Administration > WFA Configuration > LDAP
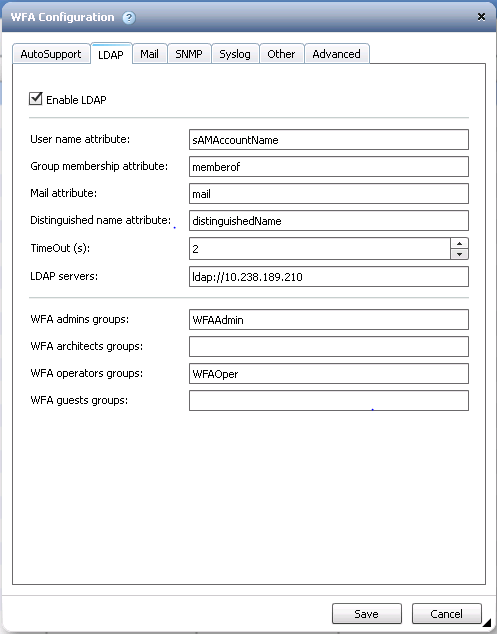
IMPORTANT: Do not change the attribute values for the following:
- User name attribute
- Group membership attribute
- Mail attribute
- Distinguished name attribute
You will find the above attributes in the Attribute Editor tab in user properties for all the users created in the AD.

Enter the LDAP Server in the following format if you are using default port 389
ldap://ip of fqdn of ad
If you are using a custom port change append :port# to the above address.
Provide the Group names in AD for WFA admins Groups. Now login using the AD user using DOMAIN\USER format.
Once you have successfully logged into WFA, navigate to Execution > Users and you will find that the AD user is now detected with LDAP value set to true.

With this you have completed the install and setup of WFA. You can now select the available workflows in Portal and start exploring them.